
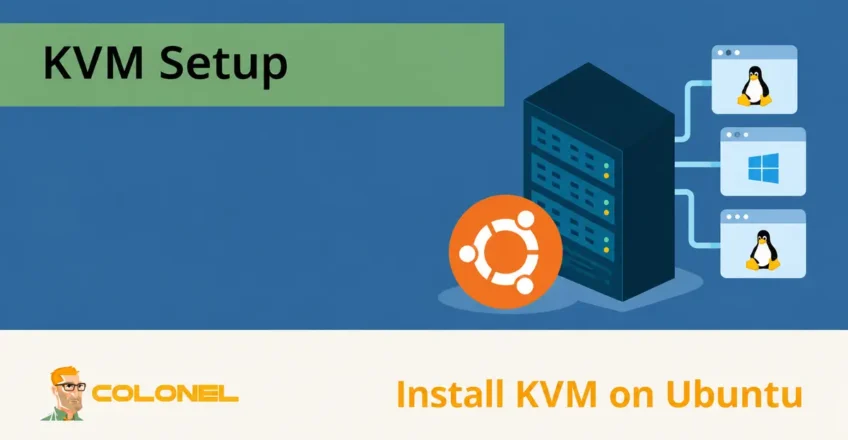
Understanding Virtualization
Virtualization is a technology that allows a single physical server to run multiple isolated operating systems and workloads simultaneously. Instead of dedicating one physical machine to a single task, virtualization enables resources such as CPU, mémoire, stockage, and networking to be shared efficiently among multiple virtual machines.
This approach improves hardware utilization, simplifie la gestion des infrastructures, reduces costs, and provides greater flexibility when deploying applications and services.
Virtualization can be applied to many different computing resources, y compris:
- Systèmes d'exploitation
- Serveurs
- Systèmes de stockage
- Applications
- Networks
- Development platforms
Aujourd'hui, virtualization forms the foundation of modern cloud computing, private cloud deployments, environnements de test, and enterprise infrastructure.
How Virtualization Works
A virtualized environment behaves similarly to a physical server from the perspective of the operating system and applications running inside it.
Consider a scenario where an organization operates three separate physical servers:

Hébergement Web WordPress
À partir de 3,99 $/mois
- A mail server
- A web server
- A legacy application server
Dans de nombreux cas, each server uses only a fraction of its available resources.
Virtualization allows these workloads to run as independent virtual machines on a single physical server. Each virtual machine receives dedicated virtual resources while remaining isolated from other guests.
This results in:
- Meilleure utilisation du matériel
- Lower infrastructure costs
- Easier workload management
- Simplified backups and recovery
- Faster provisioning of new systems
What Is KVM?
Kernel-based Virtual Machine (KVM) is a virtualization technology built directly into the Linux kernel.
KVM transforms a Serveur Linux into a hypervisor capable of running multiple virtual machines simultaneously.
Originally introduced in 2006 and integrated into the Linux kernel shortly afterward, KVM has become one of the most widely used open-source virtualization platforms.

Serveur VPS pas cher
À partir de 2,99 $/mois
KVM supports a broad range of hardware architectures, y compris:
- x86
- x86_64
- ARM
- PowerPC
- Other Linux-supported platforms
If your system runs a modern Linux kernel, KVM support is typically already available.
Why KVM Is Popular
KVM provides several advantages over many traditional virtualization platforms.
Les principaux avantages comprennent:
- Open-source licensing
- Enterprise-grade performance
- Native Linux integration
- Strong security controls
- Hardware-assisted virtualization
- Live migration support
- Isolement des ressources
- Scalability for cloud environments
Because KVM operates at the kernel level, virtual machines can achieve performance close to that of physical hardware.
Understanding Hypervisors
A hypervisor is the software layer responsible for creating and managing virtual machines.
Hébergement VPS Windows
Accès à distance et administrateur complet
Hypervisors generally fall into two categories.
Taper 1 Hypervisors (Bare-Metal)
Taper 1 hypervisors run directly on physical hardware without requiring a traditional operating system layer.
Les exemples incluent:
- KVM
- VMware ESXi
- Microsoft Hyper-V
Because they interact directly with hardware, Taper 1 hypervisors typically offer:
- Meilleures performances
- Latence inférieure
- Enhanced scalability
- Improved resource efficiency
Taper 2 Hypervisors (Hosted)
Taper 2 hypervisors run on top of an existing operating system.
Les exemples incluent:
- Oracle VirtualBox
- VMware Workstation
In this model, the hypervisor depends on the host operating system for hardware access.
While easier to deploy for testing environments, Taper 2 hypervisors generally introduce additional overhead compared to bare-metal solutions.
Why KVM Delivers Strong Performance
KVM combines the flexibility of Linux with the efficiency of a Type 1 hypervisor architecture.
Several features contribute to its performance.
Évolutivité
KVM scales efficiently as workloads grow.
It can support:
- Large virtual machine deployments
- High resource utilization
- Dynamic workload allocation
Sécurité
KVM integrates with Linux security technologies such as:
- SELinux
- sVirt
- Mandatory Access Controls (MAC)
These technologies help isolate virtual machines and reduce the risk of unauthorized access.
Storage Flexibility
KVM supports numerous storage technologies, y compris:
- Local storage
- Network Attached Storage (NAS)
- iSCSI
- Fibre Channel
- Multipath I/O
It also supports thin provisioning, allowing storage to be allocated dynamically.
Hardware Compatibility
Because KVM is part of the Linux ecosystem, it benefits from ongoing hardware support provided by CPU manufacturers and Linux kernel developers.
Advanced Memory Management
KVM leverages Linux memory management technologies, y compris:
- NUMA awareness
- Memory overcommitment
- Kernel page sharing
- Efficient swapping mechanisms
Live Migration
KVM supports live migration, allowing running virtual machines to move between hosts without downtime.
This capability is particularly valuable for:
- Maintenance windows
- Équilibrage de charge
- Mises à niveau matérielles
- High-availability environments
Resource Control
Because virtual machines appear as Linux processes, administrators can apply advanced scheduling and resource controls using Linux kernel mechanisms.
Reduced Latency
KVM’s integration with the kernel minimizes overhead and helps deliver lower latency than many hosted virtualization solutions.
Étape 1: Verify Hardware Virtualization Support
Before installing KVM, verify that your processor supports virtualization.
Exécutez la commande suivante:
egrep -c '(vmx|svm)' /proc/cpuinfo
A result greater than zero indicates virtualization support is available.
For Intel processors:
grep --color vmx /proc/cpuinfo
For AMD processors:
grep --color svm /proc/cpuinfo
You can also check virtualization status using:
lscpu | grep 'Virtualization\|Hypervisor'
Exemple de sortie:
Virtualization: AMD-V
Hypervisor vendor: KVM
Virtualization type: full
If Virtualization Is Disabled
If the command returns zero, virtualization is likely disabled in the BIOS or UEFI settings.
Pour l'activer:
- Reboot the server.
- Enter BIOS or UEFI setup.
- Locate virtualization settings.
For Intel CPUs:
Intel Virtualization Technology (VT-x)
For AMD CPUs:
AMD-V
Enable the feature and save the configuration.
Verify KVM Acceleration Support
Once virtualization is enabled, confirm that KVM acceleration is available.
Install the verification utility if necessary:
sudo apt update
sudo apt install cpu-checker
Courir:
sudo kvm-ok
Résultat attendu:
INFO: /dev/kvm exists
KVM acceleration can be used
This confirms that the system is ready for KVM deployment.
Étape 2: Installer KVM sur Ubuntu
Update package repositories:
sudo apt update
Install KVM and its required components:
sudo apt install -y qemu-system-x86 qemu-kvm libvirt-daemon-system libvirt-clients bridge-utils virt-manager
Package Overview
| Package | But |
|---|---|
| qemu-system-x86 | Hardware and operating system emulator |
| qemu-kvm | Core KVM virtualization package |
| libvirt-daemon-system | Virtualization service daemon |
| libvirt-clients | Command-line management tools |
| utilitaires de pont | Network bridge utilities |
| virt-manager | Graphical virtual machine manager |
Enable the Virtualization Service
Start and enable the libvirt service:
sudo systemctl enable --now libvirtd
Vérifier l'état du service:
systemctl status libvirtd
Verify KVM Kernel Modules
Check that KVM modules are loaded:
lsmod | grep kvm
Example output for AMD processors:
kvm_amd
kvm
Example output for Intel processors:
kvm_intel
kvm
Grant User Permissions
Add users to the required groups.
Add a user to the libvirt group:
sudo adduser username libvirt
Add a user to the kvm group:
sudo adduser username kvm
Remplacer « nom d'utilisateur » with the appropriate Linux account.
Étape 3: Create a Virtual Machine
After installing KVM, you can create virtual machines using either a graphical interface or the command line.
Avant de continuer, download the installation ISO for your desired operating system.
Option A: Create a VM Using Virt-Manager
Launch Virt-Manager:
sudo virt-manager
Create the Virtual Machine
- Cliquez Create New Virtual Machine.
- Sélectionner Local install media (ISO image).
- Browse to your ISO file.
- Configure CPU and memory allocation.
- Allocate storage space.
- Assign a virtual machine name.
- Configure networking.
- Cliquez Finition.
The virtual machine will boot automatically and begin the operating system installation process.
Option B: Create a VM Using the Command Line
KVM also provides powerful command-line tools for virtual machine deployment.
Basic Syntax
virt-install --option=value
Example Deployment
The following example creates a Rocky Linux virtual machine:
sudo virt-install \
--name Rocky9 \
--description "Rocky Linux 9" \
--ram 2048 \
--vcpus 2 \
--disk path=/var/lib/libvirt/images/rocky9.qcow2,size=15 \
--cdrom /home/user/Downloads/Rocky9.iso \
--graphics vnc
Parameter Explanation
| Option | Description |
|---|---|
| –name | Virtual machine name |
| –description | Description of the VM |
| –ram | Memory allocation in MB |
| –vcpus | Number of virtual CPUs |
| –disk | Virtual disk location and size |
| –cdrom | Installation ISO path |
| –graphics | Display method |
Using line breaks and backslashes improves readability when creating larger deployment commands.
Managing Virtual Machines
Après le déploiement, KVM virtual machines can be managed using several tools.
Graphical management:
virt-manager
Command-line management:
virsh
List running virtual machines:
virsh list
List all virtual machines:
virsh list --all
Start a virtual machine:
virsh start vm-name
Stop a virtual machine:
virsh shutdown vm-name
Building Virtualization Environments with KVM
KVM provides a powerful and efficient virtualization platform for Ubuntu servers. By integrating directly with the Linux kernel, it delivers strong performance, sécurité robuste, excellent scalability, and advanced management capabilities.
Que vous’re building a development environment, testing operating systems, deploying cloud infrastructure, or consolidating workloads, KVM offers a flexible virtualization solution capable of supporting both small deployments and enterprise-scale environments.