
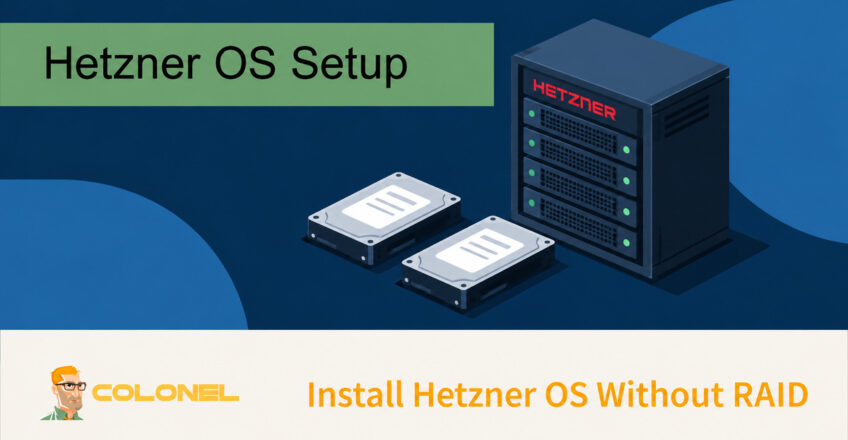
Installing a Linux operating system on a Hetzner dedicated server is straightforward thanks to the built-in Installimage utility. While Hetzner automatically deploys many servers with Software RAID enabled, there are situations where you may prefer a non-RAID setup.
Running without RAID gives you direct access to the full capacity of individual disks, simplifies storage layouts, and can be useful for development environments, backup servers, temporary workloads, or systems where external backups are already in place.
This guide explains how to install Ubuntu, Debian, AlmaLinux, Rocky Linux, or other supported Linux distributions on a Hetzner dedicated server without Software RAID using the Installimage tool.
What Is Installimage?
Installimage is Hetzner’s automated operating system deployment utility available inside the Rescue System. It allows you to:
- Install Linux distributions quickly
- Create custom partition layouts
- Configure Software RAID
- Configure LVM
- Select specific drives
- Customize hostname and network settings
The utility runs entirely from the Hetzner Rescue System and provides much more flexibility than the automatic installation option available in Robot.
Before You Begin
Make sure you have:

WordPress Web Hosting
Starting From $3.99/Monthly
- Access to your Hetzner Robot account
- SSH access to the server
- Rescue System credentials
- A recent backup of any important data
This installation process will completely erase all selected drives.
Step 1: Enable Rescue Mode
Log in to your Hetzner Robot panel.
Select your dedicated server and open the Rescue tab.
Choose:
- Linux 64-bit Rescue System
- Generate a temporary password
- Enable Rescue System
Save the password because you will need it to access the server after rebooting.
Step 2: Boot into Rescue System
Reboot the server from Robot.

Cheap VPS Server
Starting From $2.99/Monthly
After the server finishes booting, connect via SSH:
ssh root@SERVER_IP
Enter the Rescue System password provided by Robot.
Once connected, inspect the running environment and confirm that you are in the Rescue System before proceeding:
cat /etc/os-release
Step 3: Launch Installimage
Start the installer:
installimage
The utility will display a menu containing all available operating systems.
Choose the distribution you want to install.
Windows VPS Hosting
Remote Access & Full Admin
Examples:
- Ubuntu 24.04
- Debian 12
- AlmaLinux 9
- Rocky Linux 9
After selecting the operating system, Installimage opens its configuration file inside an editor.
Step 4: Disable Software RAID
By default, many Hetzner templates enable Software RAID.
Locate the RAID section:
SWRAID 1
SWRAIDLEVEL 1
Change it to:
SWRAID 0
Or on newer templates:
SWRAID 0
# SWRAIDLEVEL 1
This tells Installimage not to create any Software RAID arrays.
Step 5: Select the Installation Drive
If your server contains multiple disks, specify only the disk you want to use.
Example:
DRIVE1 /dev/nvme0n1
Comment out additional drives:
DRIVE1 /dev/nvme0n1

# DRIVE2 /dev/nvme1n1
# DRIVE3 /dev/sda
# DRIVE4 /dev/sdb
Installimage only modifies drives that are explicitly listed in the configuration file.
Step 6: Configure Partitions
A simple Ubuntu layout might look like:
PART /boot/efi esp 512M
PART swap swap 8G
PART / ext4 all
For BIOS systems, use the boot partition layout generated by Installimage for the selected distribution. A simplified example is:
PART /boot ext4 1G
PART swap swap 8G
PART / ext4 all
For larger servers:
PART /boot/efi esp 512M
PART swap swap 16G
PART / ext4 200G
PART /home ext4 all
You can adjust partition sizes based on your workload requirements.
Step 7: Set Hostname
Locate:
HOSTNAME server.example.com
Replace it with your desired hostname:
HOSTNAME vps-node-01.colonelserver.local
Step 8: Review the Configuration
An illustrative Ubuntu configuration without RAID is shown below. Keep the IMAGE path and boot-mode settings generated by your current Installimage template; available images and requirements can change:
DRIVE1 /dev/nvme0n1

SWRAID 0

BOOTLOADER grub

HOSTNAME server01.example.com

PART /boot/efi esp 512M
PART swap swap 8G
PART / ext4 all

IMAGE /root/.oldroot/nfs/images/Ubuntu-2404-noble-amd64-base.tar.gz
Verify:
- Correct drive selected
- SWRAID disabled
- Partition layout correct
- Hostname correct
Step 9: Save and Start Installation
Save the configuration.
In most Rescue System terminals:
F10
or
ESC + 0
The installer will:
- Partition the disk
- Format filesystems
- Install the operating system
- Install GRUB
- Configure networking
The process typically takes only a few minutes.
Step 10: Reboot Into Your New System
After installation completes:
reboot
Wait several minutes and reconnect:
ssh root@SERVER_IP
You should now be running the newly installed operating system without RAID.
Verify RAID Is Disabled
Check active RAID arrays:
cat /proc/mdstat
Expected output:
Personalities :
unused devices: <none>
If no md devices appear, Software RAID is disabled successfully.
Advantages of Running Without RAID
Full Disk Capacity
No storage space is reserved for mirroring.
Simpler Configuration
No RAID arrays to manage or rebuild.
Faster Deployment
Installations are generally quicker and easier to customize.
Better for Disposable Workloads
Useful for testing environments, CI/CD runners, temporary servers, and cache nodes.
Disadvantages of Running Without RAID
No Disk Redundancy
If the drive fails, the operating system becomes unavailable.
Increased Downtime Risk
Hardware failure can result in complete service interruption.
Greater Dependence on Backups
Regular backups become critical.
When Should You Avoid Disabling RAID?
Consider keeping RAID enabled for:
- Production hosting servers
- Database servers
- Customer-facing services
- Email servers
- Critical business applications
Software RAID 1 provides redundancy and protects against single-disk failures, which is why Hetzner commonly deploys it by default.
Common Troubleshooting
Server Does Not Boot After Installation
Verify that:
- Correct boot disk was selected
- GRUB installed successfully
- EFI partition exists on UEFI systems
Wrong Disk Was Used
Boot back into Rescue Mode and run:
lsblk
Verify disk names before reinstalling.
Installation Ignores Changes
Restart Installimage and carefully review the generated configuration before saving.